Before you begin
- Access to the Google or Microsoft account owning your calendar
- Permission to authorize the connection
- Your appointment hours and timezone
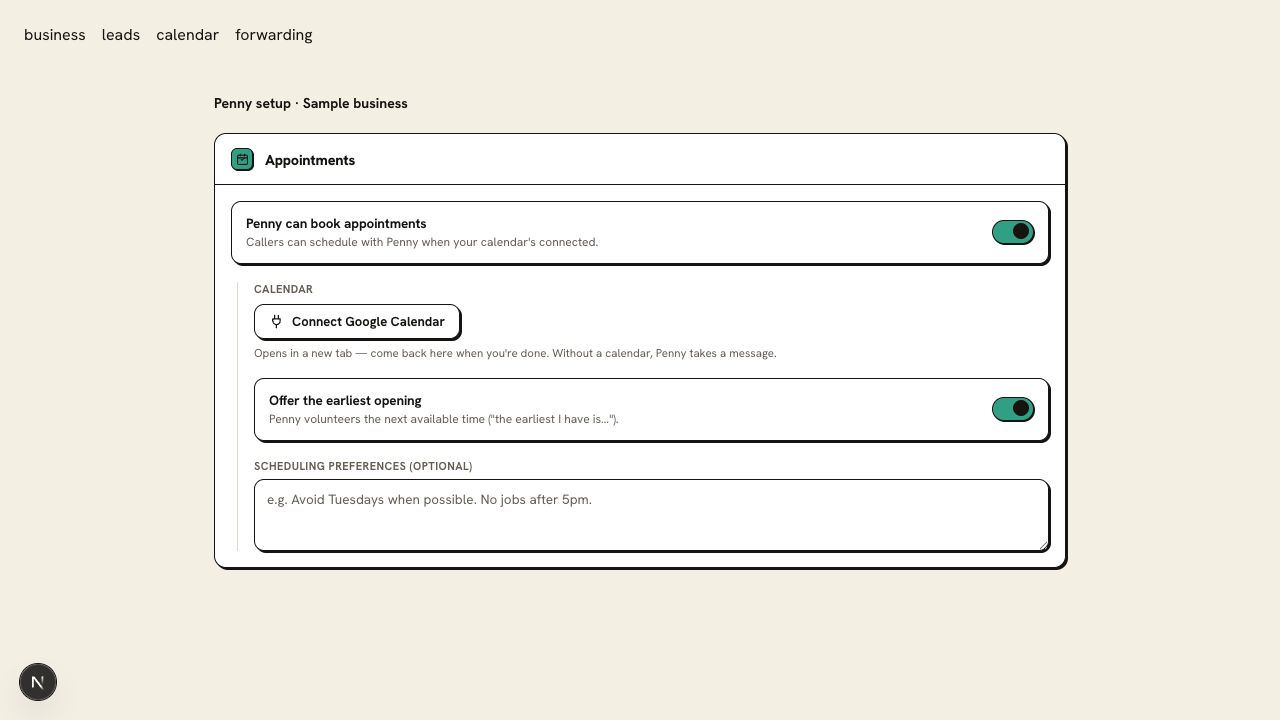
Step 1
Open Integrations in Settings
Choose Google Calendar or Outlook Calendar and connect the account that owns your working schedule. Review the permissions on the provider’s authorization screen.
Step 2
Select the appointment calendar
Choose the calendar Penny should check and update. Use the shared jobs calendar if that is where your crew checks the day. Include blocked time and appointments your office has entered by hand.
Step 3
Check business hours and timezone
Review those settings before offering a test slot. In Appointments, check “Penny can book appointments” and Scheduling preferences. Your calendar and business rules both need to allow the time.
Step 4
Book a test visit and inspect the event
Ask Penny for a routine appointment and provide the required fields. Confirm the event appears with the right date, local time, address, and callback details. Then test rescheduling or cancelling that same appointment.
You are ready when
The appointment is visible in the intended calendar at the time agreed on the call, and the log records the confirmed booking.
If the test does not pass
- If the account is wrong, disconnect and reconnect the account that owns the schedule.
- If the calendar looks open but Penny offers no slot, review business hours, timezone, and appointment requirements.
- If the calendar rejects the write, treat the result as a request for the office until the appointment is confirmed.
Questions about this setup
Which calendar should I choose?
Use the calendar your office works from, with existing appointments and blocked time included. Choosing an empty personal calendar gives Penny the wrong view of the working day.
What happens before I connect a calendar?
Penny collects appointment requests for your office to confirm. On paid plans, connect a calendar and turn on booking to reserve available times during the conversation.